Alignimages gui
Image Alignment
The image alignment tool (alignimagepair) can align two images using user-selected points on both images. The user identifies corresponding points in the two images and the second image is shifted, rotated and stretched to match the first image. The rotated (right-side) image can then be saved to the workspace or file. Note: it is best to put the smaller sized image second so entire area of both images are visible.
To perform alignment:
- Click on a point in one image, a small circle will appear at the location.
- Locate the corresponding feature in the other image click on it to place the second marker. Both locations will then be labeled with an ordered number starting at 1.
- Repeat steps 1 and 2 until enough points have been placed to roughly align the image.
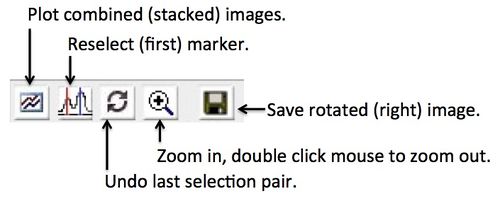
- If you make a mistake, click the Undo button to remove the last pair of points. If a mistake is made placing the first point click the Reselect button.
- Zoom in on any particular point and adjust the location by clicking and dragging. Note that you need to toggle the Zoom button on and off in order to drag the point. Double clicking while zooming will reset the zoom.
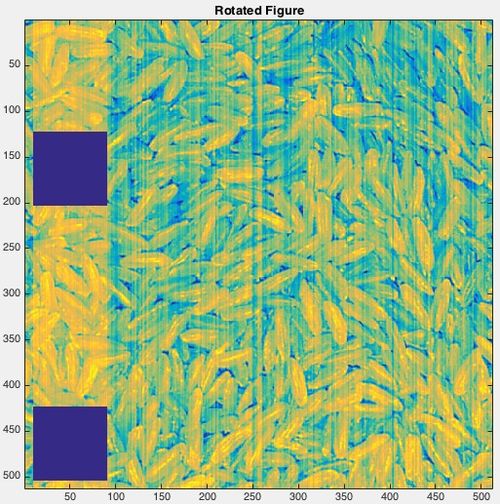
The following code can be run to generate an example alignment. The "rice" image is modified to have two square "holes" in the image then a second image is created by rotating the first image 90 degrees:
load rice_bw
rice(10:90,10:90) = 0;
rice(10:90,310:390) = 0;
riceds = buildimage(rice);
riceds2 = rot90_img(riceds);
alignimagepair(riceds,riceds2)
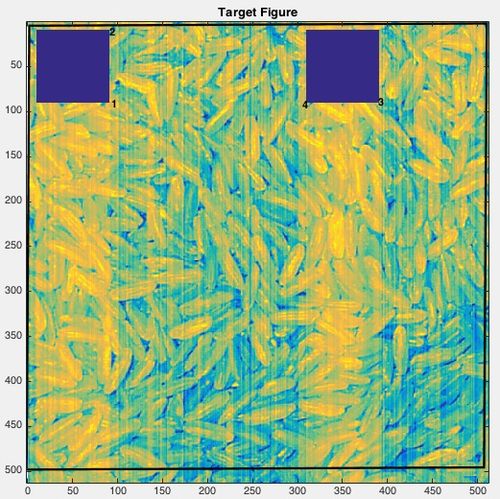
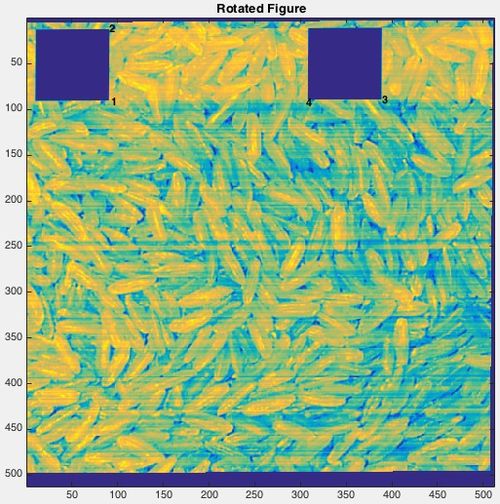
Clicking 3-4 points at the edges of the "holes" does a pretty good job at aligning the images. Zooming would help to improve the point placement and alignment.
Original Image (to be aligned):
Target Image (to be aligned to):
Aligned Image (after alignment):


