Alignimages gui: Difference between revisions
imported>Scott No edit summary |
imported>Scott No edit summary |
||
| Line 19: | Line 19: | ||
Clicking 3-4 points at the edges of the "holes" does a pretty good job at aligning the images. Zooming would help to improve the point placement and alignment. | Clicking 3-4 points at the edges of the "holes" does a pretty good job at aligning the images. Zooming would help to improve the point placement and alignment. | ||
Original Image (to be aligned): | '''Original Image (to be aligned)''': | ||
[[Image:alignimage_orginalrotated.jpg| |500px |Aligned Image]] | [[Image:alignimage_orginalrotated.jpg| |500px |Aligned Image]] | ||
Target Image (to be aligned to): | '''Target Image (to be aligned to)''': | ||
[[Image:alignimages_targetimage.jpg| |500px |Target Image]] | [[Image:alignimages_targetimage.jpg| |500px |Target Image]] | ||
Aligned Image (after alignment): | '''Aligned Image (after alignment)''': | ||
[[Image: | [[Image:Alignimages_rotatedimage.jpg | |500px |Aligned Image]] | ||
Revision as of 16:41, 29 September 2014
Image Alignment
The image alignment tool can align two images using user-selected points on both images. The user identifies corresponding points in the two images and the second image is shifted, rotated and stretched to match the first image. The rotated (right-side) image can then be saved to the workspace or file. Note: it is best to put the smaller sized image second so entire area of both images are visible.
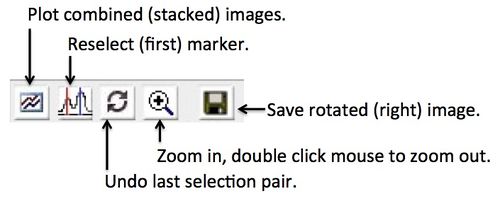
To perform alignment click on a point in one image then locate and click on the corresponding point in the other image. As points are added the alignment will be updated. Use the Zoom button to magnify the images and more accurately locate the position of a clicked point. Points are designated by ordered number and can be dragged to fine-tune the alignment.
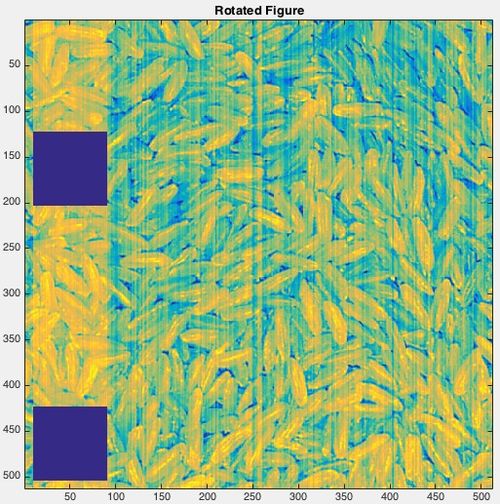
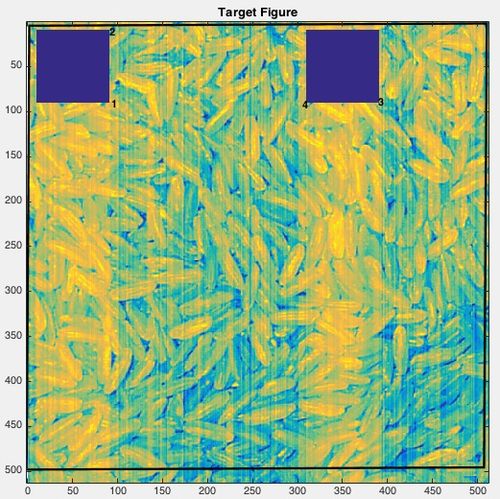
The following code can be run to generate an example alignment. The "rice" image is modified to have two square "holes" in the image then a second image is created by rotating the first image 90 degrees:
load rice_bw
rice(10:90,10:90) = 0;
rice(10:90,310:390) = 0;
riceds = buildimage(rice);
riceds2 = rot90_img(riceds);
alignimagepair(riceds,riceds2)
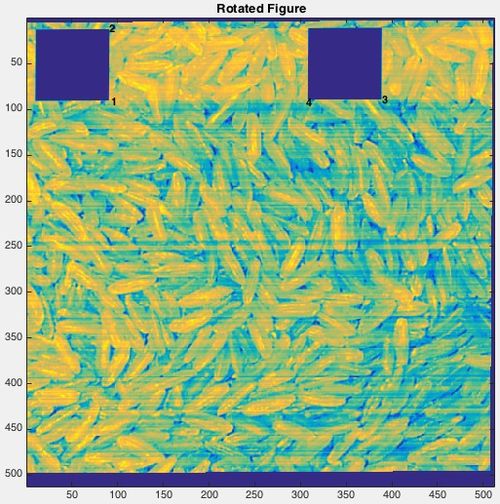
Clicking 3-4 points at the edges of the "holes" does a pretty good job at aligning the images. Zooming would help to improve the point placement and alignment.
Original Image (to be aligned):
Target Image (to be aligned to):
Aligned Image (after alignment):


