Building Models Quick Start: Difference between revisions
imported>Jeremy m (Building Models moved to Building Models Quick Start) |
imported>Jeremy No edit summary |
||
| Line 11: | Line 11: | ||
* load the data | * load the data | ||
* view the data | * view the data | ||
* | * choose preprocessing | ||
* select | * select the type of cross-validation to use (if any is desired) | ||
* build the model | * build the model | ||
* review the model | * review the model | ||
Revision as of 14:30, 12 March 2009
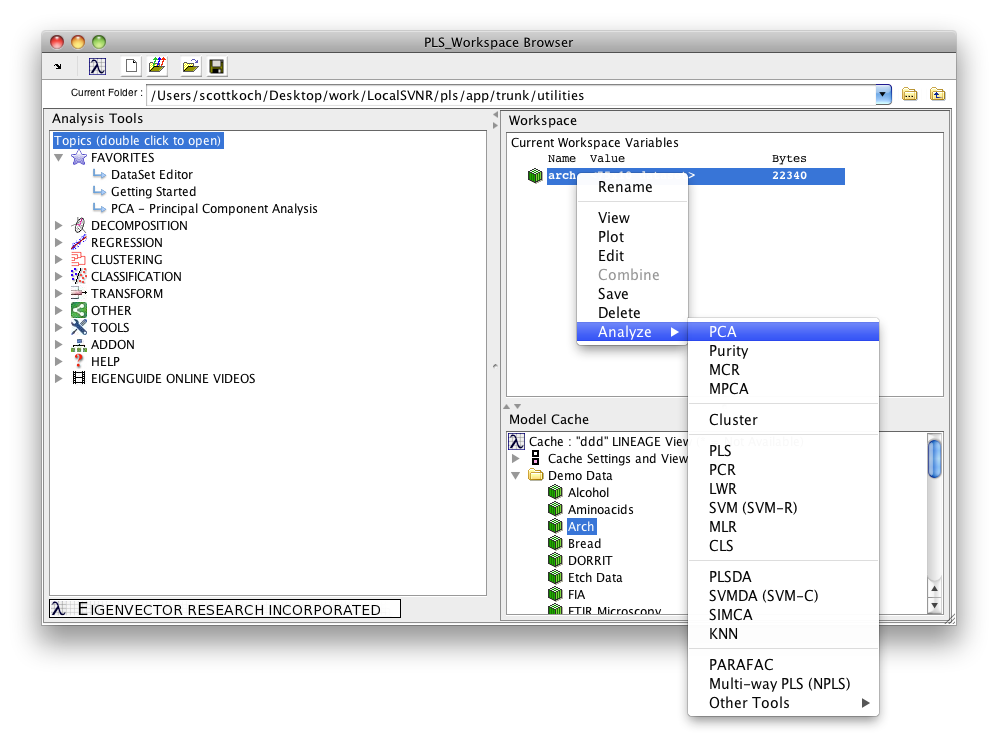
Once data has been loaded into the workspace, there are several ways to begin building a model. For analysis tools like PCA where only an X block is required, you can right-click on the data icon in the browser to reveal a list of analysis options.
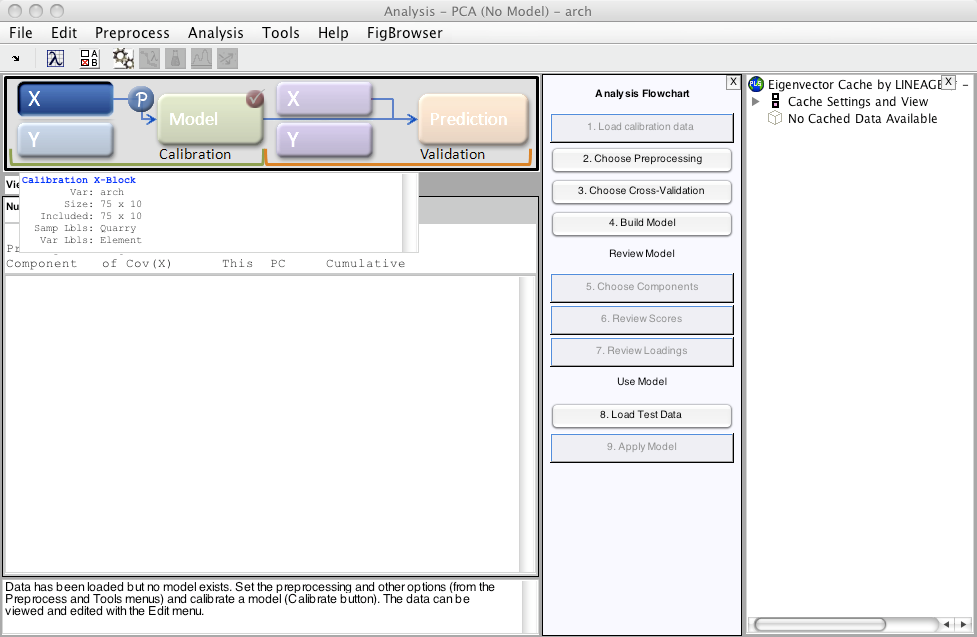
In PLS_Toolbox, the Analysis GUI will then appear (if it is not already open). In Solo, the Analysis GUI is visible at launch. The large X button in the Analysis GUI will appear depressed, and passing the cursor over the button will provide a summary of the X block data.
While each analysis type has its own nuances, in general the steps to build a model are
- load the data
- view the data
- choose preprocessing
- select the type of cross-validation to use (if any is desired)
- build the model
- review the model
There is more than one way to accomplish each of the above steps. For example, preprocessing can be set for the X block by
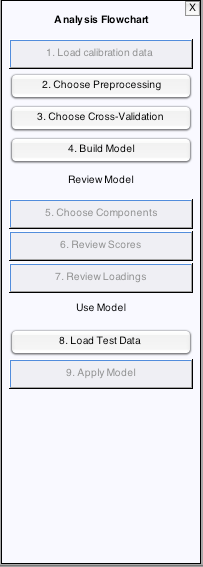
- clicking the "Choose Preprocessing" button in the Analysis Flowchart
- clicking the P button next to the X button
- select "Preprocess" menu item
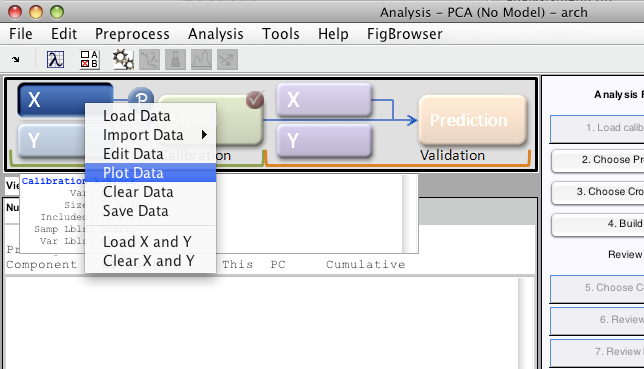
You can quickly view your data by right-clicking on the appropriate button (X or Y) and then select "Plot Data"
Perhaps the quickest way for new users to complete the remaining steps to build the model is to use the flowchart.


