Importtool: Difference between revisions
Jump to navigation
Jump to search
imported>Mathias |
imported>Mathias |
||
| Line 23: | Line 23: | ||
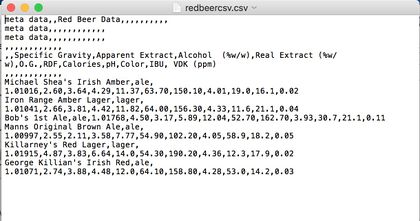
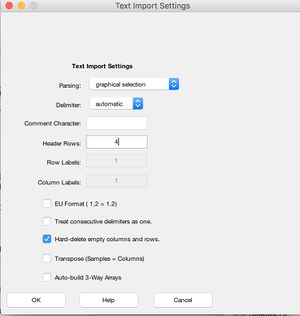
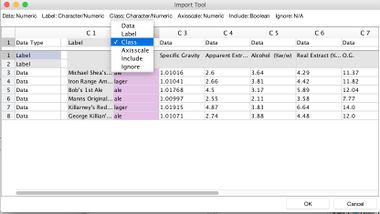
Here we import a csv file by dragging the file into the browse window. | Here we import a csv file by dragging the file into the browse window. | ||
[[Image:csv_examp.jpg||420px|]] | |||
[[Image:csv_examp.jpg|| | |||
[[Image:Text_import1.jpg||300px|]] | [[Image:Text_import1.jpg||300px|]] | ||
[[Image:importtool1.jpg|| | [[Image:importtool1.jpg||380px|]] | ||
Revision as of 12:31, 27 October 2016
Purpose
GUI for designating column/row data types in incoming data. Allows user to specify a column or row as labels, class sets, or axisscale or data.
Synopsis
- [ctypes, rtypes] = importtool(data);
- [ctypes, rtypes] = importtool(data,options);
Description
Allows user to identify data type (data, class, axisscale, include, and ignore) fields (row and columns) in a data matrix.
Options
options = a structure array with the following fields:
- fields: Nx2 cell array, first column is field name, second column is color to use.
Examples
Here we import a csv file by dragging the file into the browse window.


